Another recipe from my mom’s Betty Crocker recipe book. My family is a huge fan of this quiche. If you follow the instructions to the exact measurement, there’s no way this shouldn’t turn out great!
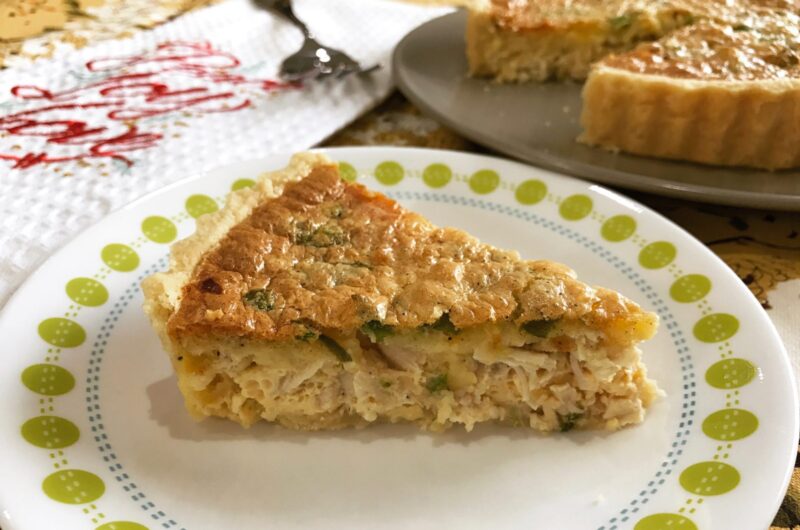
Chicken Quiche
Course: Breakfast, BrunchDifficulty: MediumServings
8
servingsPrep time
30
minutesCooking time
1
hourTotal time
1
hour30
minutesIngredients
- Pastry
⅓ cup plus 1 tbsp butter
1 cup all-purpose flour
½ tsp salt
2-3 tsp cold water
- Filling
1 cup shredded/grated cheddar cheese
⅓ cup finely chopped onions
4 eggs
2 cups whipping cream
¾ tsp salt
¼ tsp pepper
½ tsp ground red pepper
1 cup boiled chicken (chopped)
Directions
- Cut margarine into flour and salt until particles are size of small peas.
- Sprinkle in water, 1 tablespoon at a time, tossing with fork (I prefer to use my hand) until all flour is moistened and pastry almost cleans side of bowl (1 to 2 teaspoons water can be added if necessary). Do not over-kneed.
- Gather pastry into a ball and refrigerate for 30 minutes.
- Pre-heat oven to 210C.
- Shape pastry into flattened round on lightly floured slab. If you want to avoid using flour, use parchment paper to avoid the pastry from sticking to the rolling pin.
- Roll pastry 2 inches larger than inverted pie plate with floured rolling pin (use an 8-9 inch wide pan that’s an inch deep).
- When rolling out pastry, keep circular by occasionally pushing edge in gently with sides of hands.
- Fold pastry into quarters (don’t flatten or it’ll stick, just want to loosely place edges together to fold it twice into a quarter circle).
- Place in pie plate with point in centre. Unfold and gently ease into plate, being careful not to stretch pastry.

- Sprinkle chicken, cheese and onion in pastry-lined pie plate.
- In a separate bowl beat eggs slightly; beat in remaining ingredients. Pour into pie plate.
- Bake uncovered 15 mins.
- Reduce oven temp to 150C.
- Bake until knife inserted in center comes out clean, about 30 minutes longer.
- Let stand 10 mins before cutting.

Notes
- Since the diameter of the pastry was kept 2 inches bigger than the diameter of the plate, the 1 inch thickness (depth) of the plate will also be used up. You might still have a little big hanging. Smoothen it gently along the edges and use a fork to make impressions all around the edge/rim of the plate.